Setting Custom Icons in Mac OS X
In order to use the icons downloaded from this website, you will have to do two things: decompress the archive, and paste the icon over an existing file, folder, or application's existing icon.
All of the sets available from Xicons.com are in Stuffit archives that have been binhex encoded. Mac OS X comes with Stuffit Expander, a freeware utility that will take care of decoding and decompressing the downloads for you. Simply double-click the archive and Stuffit Expander should take care of the rest.
If you no longer have Stuffit Expander installed on your system, or if it is not working properly, you can download it directly from Allume Systems.
 You should now have a folder of icons. To apply them to your files, folders, or applications simply click on the icon you would like to use. Select 'Show Info' from the File menu (or press command-i).
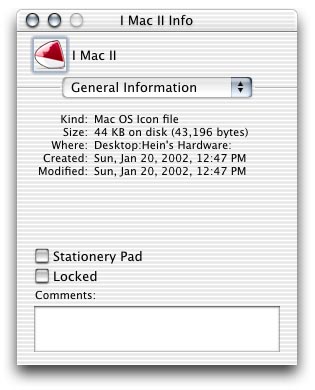
Click on the icon that appears in the Inspector window and select 'Copy' from the Edit menu (or press command-c).
Next, select the object in the Finder whose icon you would like to change. The Inspector window will update to display info about the object you just selected.
Click on the icon displayed within the Inspector window and chose 'Paste' from the Edit menu (or press command-v).
That's it, you're all done. This will work for any Finder object where you have write permissions.
To undo your changes, bring up the Inspector window for the object you would like to change and click on it's icon in the window. Select 'Cut' from the Edit menu (or press command-x). The icon has now reverted to its default state.